Creating Your Own Home Media Server: A Simple Guide for Canadians
Visits: 993
Have you ever dreamed of having all your favorite movies, music, and family photos in one place that everyone at home can easily access? A home media server can make that dream a reality! In this guide, we'll walk you through the basics of creating your very own media server. Don't worry—we'll keep it simple and explain everything in everyday language.
What is a Home Media Server?
A home media server is like a personal library where you store all your digital media, such as movies, music, TV shows, and photos. Instead of keeping files scattered across different devices, a media server lets you keep everything in one spot. You and your family can then access these files on your TV, computer, smartphone, or tablet anywhere in your home.
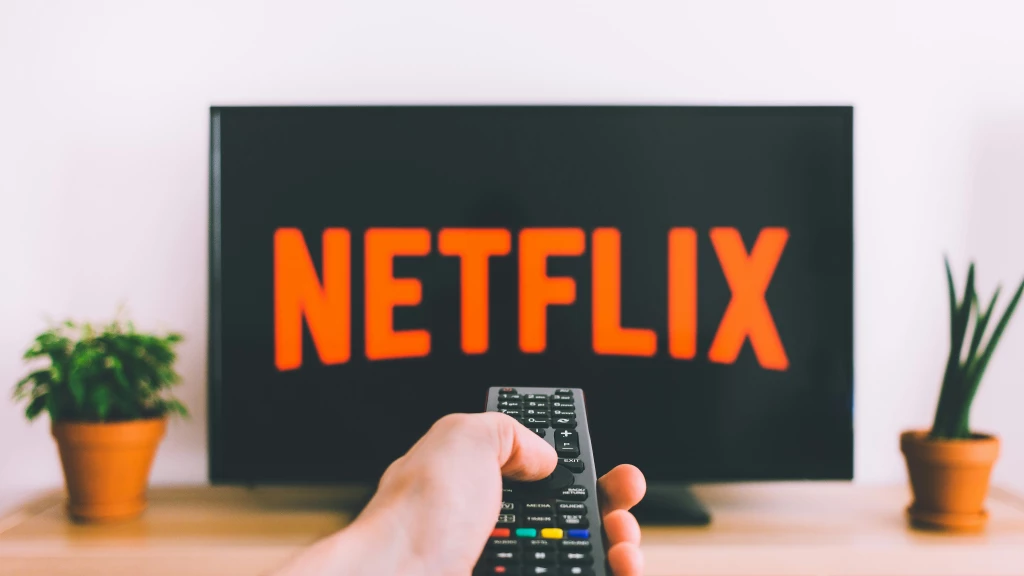
Think of it as a Netflix-style setup—but instead of someone else's movies, it's your collection! Plus, you can stream content even if you're sitting in the backyard or lying in bed. Imagine being able to access all your favorite memories, watch your favorite shows, or listen to your curated playlists anytime, without needing multiple subscriptions or worrying about internet outages.
Why Create a Home Media Server?
- Centralized Access: All your files are in one place, easily accessible from any device.
- No More Physical Storage: Say goodbye to stacks of DVDs, CDs, or USB drives.
- Customize to Your Needs: You decide what gets stored, how it’s organized, and who gets access.
- Cost-Efficient: Once it's set up, you avoid the ongoing monthly fees of streaming services.
- Privacy and Control: You have full control over your media and who can access it. No third-party advertisements, no tracking, and no unexpected changes to what content is available.
- Improved Media Experience: You can organize content the way you like, create playlists for family gatherings, and watch everything without buffering delays. It’s your own entertainment hub!
Step 1: Choose Your Equipment
You'll need a few basic items to set up your media server. Here are the essentials:
| Equipment | Description | Suggested Options |
|---|---|---|
| Computer or NAS | A computer or Network Attached Storage (NAS) device to act as the server. | Old desktop/laptop, Synology, QNAP |
| Hard Drive | Storage for your files. | HDD (affordable), SSD (fast) |
| Network Router | To connect devices to your media server. | Any good home router (e.g., TP-Link, Asus) |
| Server Software | Software that lets your devices access media files. | Plex, Jellyfin, Kodi |
Choosing a Computer or NAS
- Old Desktop or Laptop: You can use an old computer you already have. Just make sure it has enough storage space and that it can run for long periods without issues.
- NAS Device: If you want something more professional, you could buy a NAS. These are small storage units designed specifically for hosting files and serving them over your network.
- Cloud Option: Alternatively, you can use cloud integration with your NAS or server to back up your content online, adding an extra layer of security in case of hardware failures.
Storage Considerations
Your choice of storage is critical. If you plan to store a lot of high-definition videos, you'll need significant space. Hard drives (HDDs) are affordable, but Solid State Drives (SSDs) are much faster. For the best of both worlds, consider a mix: an SSD for frequently accessed files, and an HDD for bulk storage.
Step 2: Pick Your Media Server Software
Software is the heart of your media server, letting you organize and share your media. Here are some popular options:
| Software | Description | Complexity Level |
| Plex | Easy to use with a great user interface. Has apps for TV, mobile, and more. | Easy |
| Jellyfin | An open-source option that's completely free. Customizable and private. | Moderate |
| Kodi | Excellent for advanced users who want lots of features and add-ons. | Advanced |
Plex is the most popular choice for beginners, as it's simple to set up and looks fantastic on your TV. Jellyfin is great if you prefer something that’s entirely free without any premium options. Kodi, on the other hand, is perfect for those who like flexibility and don't mind tinkering.
Additional Software Tools
- HandBrake: This is a free video conversion tool that can help you convert your media into different formats to ensure compatibility with all devices.
- Tautulli: A monitoring tool for Plex that lets you track who is watching what on your server, offering insights into viewing habits.
Step 3: Set Up Your Home Media Server
Let’s dive into setting everything up step-by-step.
1. Install the Media Server Software
- Plex Example:
- Go to Plex's website.
- Download the software and install it on the computer you’ll use as your server.
- Follow the instructions to create an account and choose which folders contain your movies, music, and photos.
- Jellyfin Example:
- Visit the Jellyfin website.
- Download and install the server software.
- Configure the server by pointing it to the directories where your media is stored.
2. Connect Your Hard Drives
Whether you’re using a computer or a NAS, connect your external hard drives to hold all your content. Make sure you have enough space—HD movies can take up several gigabytes each.
- External Hard Drives: If you use external drives, ensure they're reliable and ideally powered separately. USB-powered drives might not perform well if they're accessed by multiple devices at the same time.
- RAID Setup: For those who want redundancy (a safety net if a drive fails), consider a RAID setup. RAID 1, for instance, creates a mirror of your data across two drives, offering better data security.
3. Organize Your Media
Create folders for Movies, TV Shows, Music, and Photos to keep everything tidy. Good organization helps your media server find what it needs and makes it easier to browse.
| Folder Type | Suggested File Organization |
| Movies | Folder for each movie, named like "The_Matrix_1999" |
| TV Shows | Folder for each show, with subfolders by season |
| Music | Artist > Album > Track |
| Photos | By Year > By Event (e.g., 2023 > Vacation) |
Tips for Organizing Media
- Use consistent naming conventions to help the server software recognize your files.
- Avoid using special characters in file names, as they can sometimes cause issues.
- Keep metadata (like subtitles and descriptions) in the same folder to make it easy for your server software to find.
Step 4: Access Your Media Anywhere at Home
Once everything is set up, you can access your media server from any device connected to your home network:
- TV: Install the Plex or Kodi app on a smart TV or streaming device (like Roku or Fire Stick).
- Mobile Devices: Use the Plex or Jellyfin app to stream to your phone or tablet.
- Computers: Just open a web browser, go to your media server's IP address, and start watching.
Additional Devices and Apps
- Game Consoles: PlayStation and Xbox consoles often support Plex, so you can use them to stream content directly.
- Smart Speakers: With some extra setup, you can integrate your media server with smart speakers like Amazon Echo, letting you control playback with voice commands.
Step 5: Set Up Remote Access (Optional)
Want to access your media server when you’re away from home? Remote access lets you watch your content anywhere with an internet connection.
- Plex offers a simple way to set this up. Go to the settings menu, enable remote access, and follow the instructions.
- Jellyfin: You can also set up remote access, but it might involve a bit more manual setup, like configuring port forwarding on your router.
- Kodi: To use Kodi remotely, you may need to use a VPN to securely connect to your home network.
| Feature | Plex | Jellyfin | Kodi |
| Remote Access | Simple to set up | More manual | Requires VPN |
| Mobile Apps | Available (free & paid) | Free | Requires setup |
Things to Keep in Mind
- Internet Speed: If you want to stream 4K videos, you'll need a fast network. Make sure your router supports high speeds and that your computer or NAS is connected directly via an Ethernet cable.
- Backup Your Media: Hard drives can fail. Always keep backups of important files like family photos on a separate device or in cloud storage.
- Energy Consumption: If you’re using an old computer as your server, remember it will need to be on most of the time. NAS devices use less power and are designed to run quietly.
- Security: If you’re enabling remote access, consider setting up strong passwords and enabling two-factor authentication (2FA) to keep your content safe.
Optimizing Your Network
- Ethernet vs. Wi-Fi: Whenever possible, use Ethernet to connect your server. It’s faster and more stable, especially if multiple users are accessing the media at the same time.
- Quality of Service (QoS): If your router supports QoS settings, use them to prioritize streaming traffic, reducing buffering during playback.
Common Questions About Home Media Servers
| Question | Answer |
| Can I use Wi-Fi for my media server? | Yes, but Ethernet is faster and more reliable. |
| How much storage do I need? | Depends on your collection; a 1TB drive holds about 250 HD movies. |
| Is it expensive? | Not really—you can repurpose old hardware, and most software is free. |
| Can I add more storage later? | Yes, you can always add more hard drives as your collection grows. |
Benefits of Your Own Media Server
Having your own media server means your family can watch what they want, when they want, without dealing with discs or multiple subscriptions. Plus, you'll feel good knowing that you built something awesome and useful for everyone at home!
- Control Over Content: Unlike streaming services that can remove content unexpectedly, your media server always has what you want.
- Custom Playlists: Create your own playlists for movie marathons, kids' shows, or party music. It’s a level of customization you won’t get from regular streaming services.
- No Monthly Fees: Say goodbye to monthly subscriptions for streaming services that may not always have what you like.
- Educational Uses: Store educational videos and documentaries for the kids. It’s a great way to create a personalized learning library.
Final Thoughts
Setting up a home media server may sound technical, but once you break it down into steps, it's very doable. All you need is some old equipment, a bit of patience, and some time to get everything set up properly. The payoff is huge—an organized library of all your digital memories, easily accessed from anywhere in your house.
A home media server is more than just a tech project; it’s about creating a personalized entertainment experience for you and your family. Whether you want to watch old family videos, listen to your favorite songs, or binge-watch a beloved TV series, a media server gives you the freedom to do it all, on your terms.
Why not give it a try this weekend and start enjoying your personalized media center? If you need more help or want to explore other ways to improve your home tech setup, check out more articles on 2ip.ca. We're always here to help Canadians make the most of their digital lives!
- All Categories
- Basics of the Internet 21
- Internet Security and Privacy 18
- VPN and Protection Tools 23
- Optimizing Internet Performance 15
- Device and Software Management 17
- Wi-Fi and Home Networks 15
- Data backup 16
- Social Media and Security 16
- Cloud Technologies and Storage 18
- Internet of Things (IoT) Devices 14
- Linux 16
- Mobile security 15
- Setting up home networks 14
- Digital Legacy 14
- IT Education 15
- Cyber threats 17
- File sharing and security 15
- The future of technology 14